7 min read • 1,534 words
How to Install and Configure PostgreSQL on Windows
Installing PostgreSQL on Windows is a crucial step for developers and database administrators who want to leverage the power of this robust open-source relational database management system. This guide will walk you through the entire process of installing PostgreSQL on Windows, ensuring you have a seamless experience from start to finish. Understanding how to install PostgreSQL on Windows not only enhances your database management skills but also opens doors to advanced data handling capabilities.
In this article, you will learn how to use the graphical installer provided by EnterpriseDB, allowing you to select your installation directory and set a password for the default PostgreSQL service. Additionally, you will discover how to manage the PostgreSQL service using the pg_ctl command and explore essential configuration files like postgresql.conf and pg_hba.conf. Finally, we will cover how to connect to your PostgreSQL database using the psql command-line tool or graphical interfaces such as pgAdmin.
Step-by-Step Tutorial
Step 1: Download PostgreSQL Installer
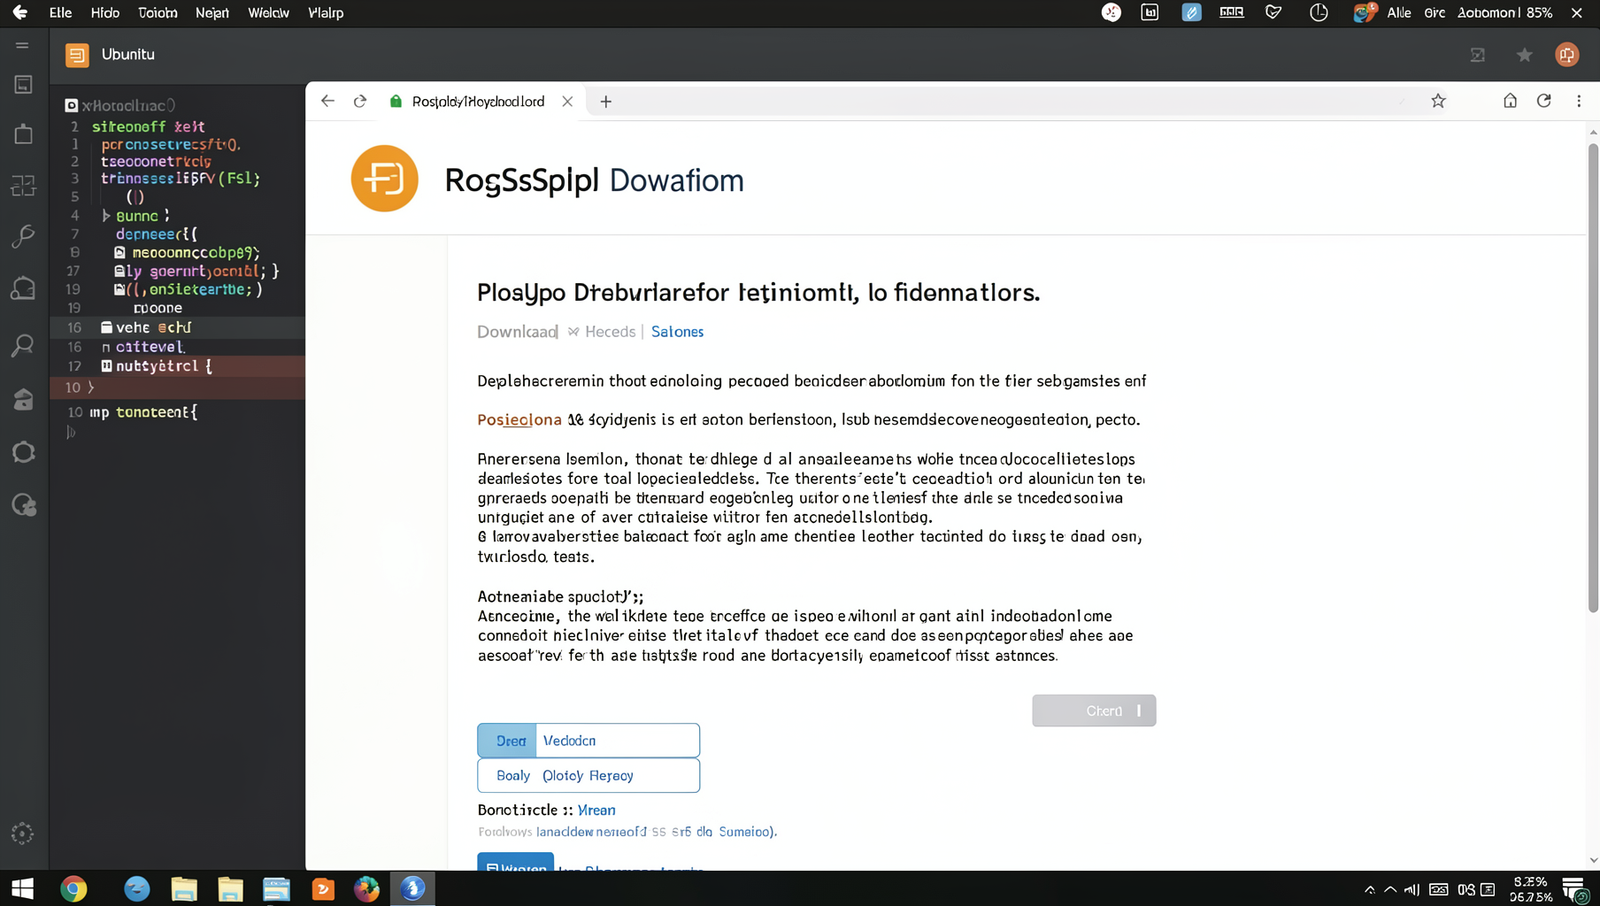
To begin the installation of PostgreSQL on your Windows system, the first step is to download the PostgreSQL installer. Follow these detailed instructions to ensure a smooth download process.
1. **Visit the Official PostgreSQL Website**: Open your web browser and navigate to the official PostgreSQL download page for Windows by entering the following URL in the address bar: https://www.postgresql.org/download/windows/. This page contains all the necessary resources for downloading PostgreSQL.
2. **Locate the Download Link**: Once on the download page, scroll down to find the section dedicated to Windows installers. Look for the link that directs you to the PostgreSQL installer. This link is typically highlighted and easy to identify.
3. **Select the Installer Version**: After clicking the download link, you will be presented with options for different versions of PostgreSQL. It is advisable to choose the latest stable version to ensure you have the most up-to-date features and security patches. Click on the appropriate version to start the download.
4. **Download the Executable File**: Your browser will prompt you to save the installer executable file. Choose a location on your computer where you want to save the file, and click “Save.” The download process will begin, and you will see the progress in your browser.
5. **Verify the Download**: Once the download is complete, navigate to the folder where you saved the installer. Ensure that the file is present and that it is the correct executable file for PostgreSQL.
**Tips**: Before downloading, check the system requirements to ensure compatibility with your Windows version.
**Warnings**: Always ensure that you download the installer from the official PostgreSQL website to avoid the risk of downloading malicious software.

Step 2: Run the Installer
1. **Locate the Installer**: Begin by navigating to the location where you downloaded the PostgreSQL installer. This is typically found in your Downloads folder. Open File Explorer and find the file named something like `postgresql-xx.x-windows-x64.exe`, where `xx.x` represents the version number.
2. **Run the Installer**: Once you have located the installer file, double-click on it to initiate the installation process. If your system prompts a User Account Control (UAC) message asking for permission to run the installer, click ‘Yes’ to proceed. This step is crucial as it allows the installer to make necessary changes to your system.
3. **Follow the Setup Wizard**: After you confirm the UAC prompt, the PostgreSQL setup wizard will appear. This wizard will guide you through the installation process with a series of prompts. Pay close attention to each step, as you will need to select installation options, such as the installation directory, components to install, and the password for the database superuser (default user is `postgres`).
4. **Run as Administrator**: For a smoother installation experience, it is advisable to run the installer as an administrator. Right-click on the installer file and select ‘Run as administrator’ to ensure that you have the necessary permissions.
5. **Disable Antivirus Temporarily**: If you encounter any issues during installation, consider temporarily disabling your antivirus software. Some antivirus programs may interfere with the installation process.
6. **Close Running Applications**: To avoid any conflicts, make sure to close all running applications before starting the installation. This helps prevent any potential issues that may arise from software interference during the setup.
Step 3: Choose Installation Directory
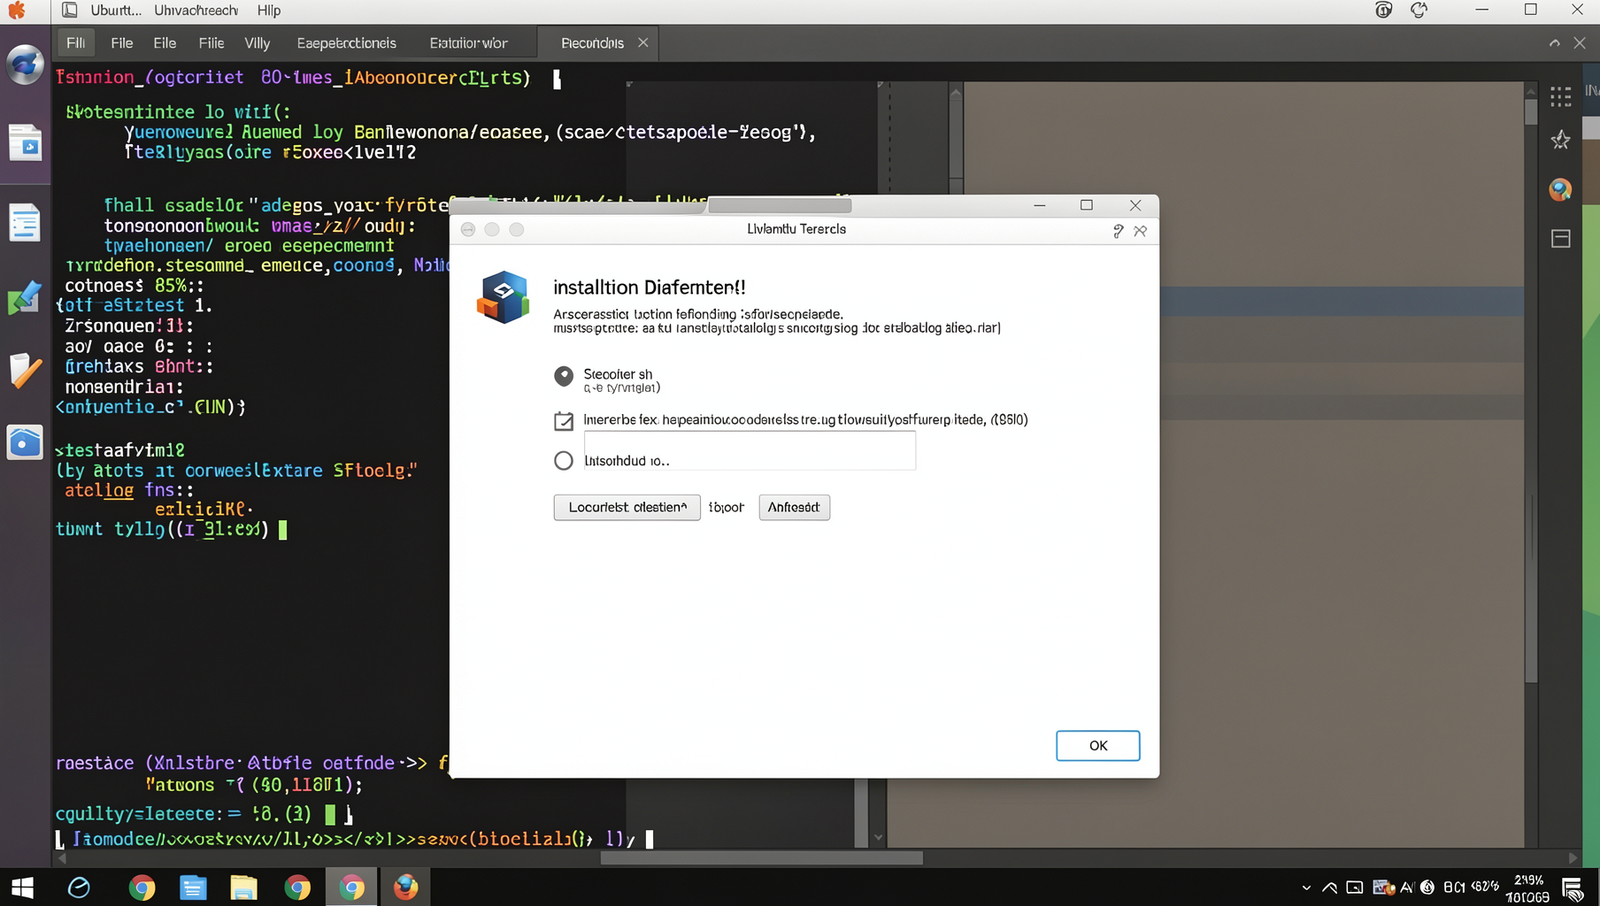
1. **Launch the Setup Wizard**: After completing the previous steps in the PostgreSQL installation process, you will reach the “Choose Installation Directory” screen in the setup wizard. This is where you will specify the location on your computer where PostgreSQL will be installed.
2. **Default Installation Path**: The setup wizard will typically suggest a default installation directory, which is usually located in `C:\Program Files\PostgreSQL\X.Y`, where `X.Y` represents the version number. This default path is generally suitable for most users, and it is recommended to use it unless you have a specific reason to change it.
3. **Custom Installation Path**: If you decide to choose a different directory, click on the “Browse” button. A file explorer window will open, allowing you to navigate to your desired location. When selecting a custom path, ensure that it does not contain any spaces, as this can lead to potential issues with PostgreSQL’s functionality.
4. **Check Disk Space**: Before finalizing your choice, verify that you have sufficient disk space in the selected directory. PostgreSQL requires a certain amount of space for installation and future database growth. It is advisable to have at least several gigabytes of free space available.
5. **Note the Installation Path**: Once you have selected the installation directory, make a note of this path for future reference. You may need it later for configuration or troubleshooting purposes.
After confirming your installation directory, proceed to the next step in the wizard to continue the installation process.
Step 4: Select Components
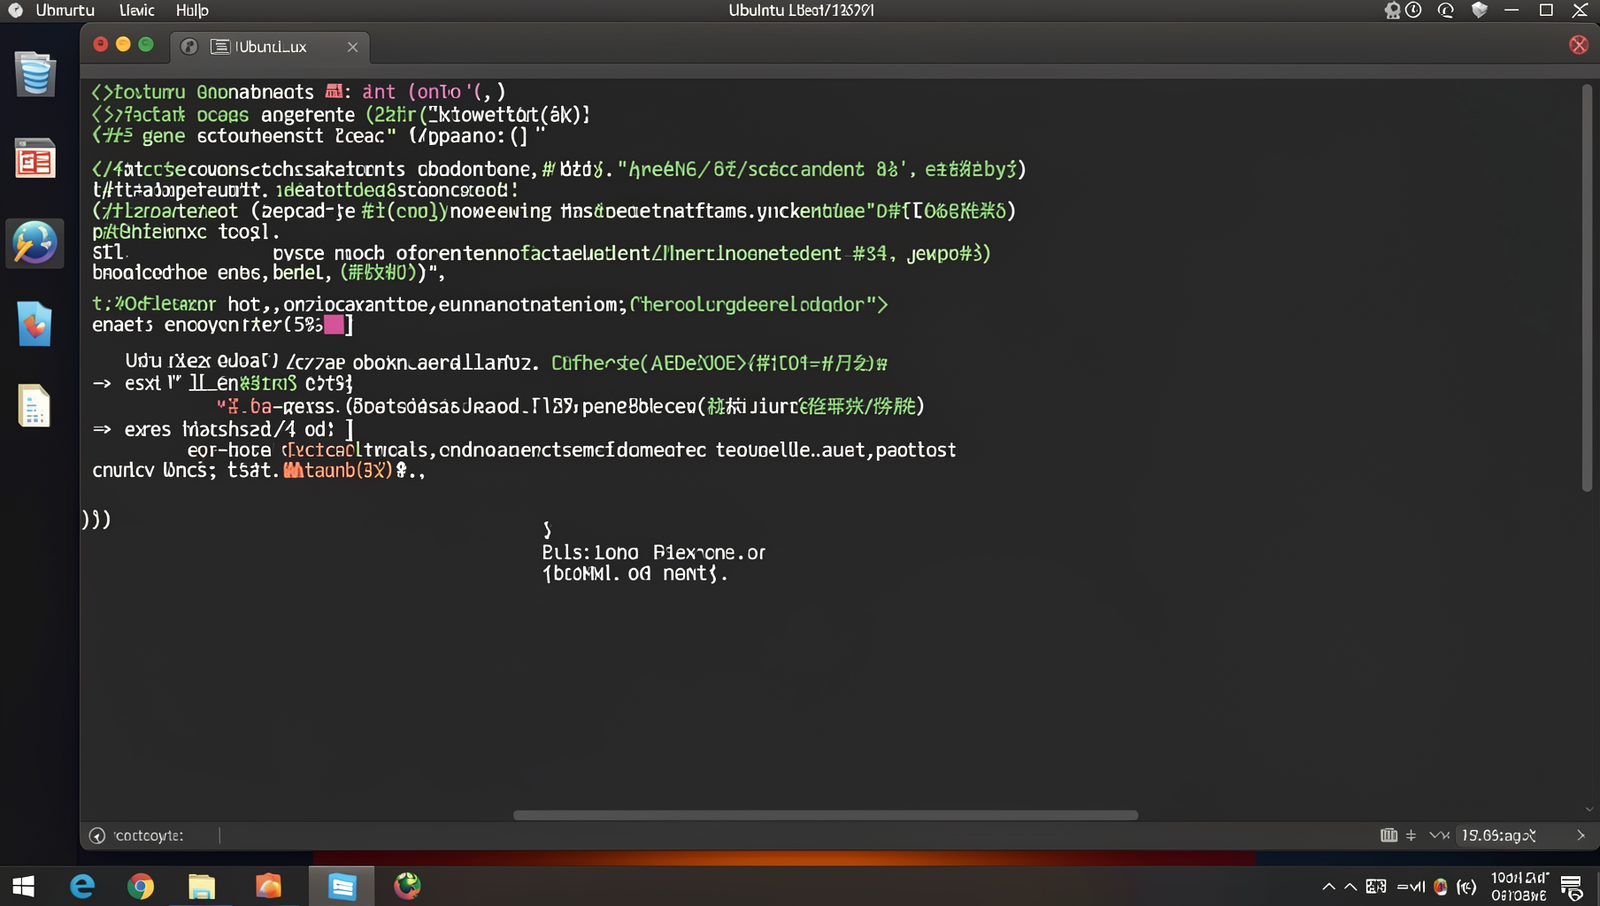
1. **Review Default Components**: When you reach the “Select Components” screen during the installation of PostgreSQL, you will see a list of components that are selected by default. These typically include PostgreSQL Server, pgAdmin, and Stack Builder. It is advisable to keep these default selections unless you have specific reasons to change them.
2. **Understand Each Component**: Before making any changes, take a moment to understand the purpose of each component. PostgreSQL Server is the core database engine that will handle your data. pgAdmin is a graphical user interface that allows you to manage your databases easily. Stack Builder is a tool that helps you install additional tools and drivers that can enhance your PostgreSQL installation.
3. **Make Your Selections**: If you decide to customize your installation, you can check or uncheck the components according to your needs. However, it is crucial to avoid unchecking essential components unless you are confident in what you are doing. For most users, the default selections will provide a comprehensive setup.
4. **Proceed to the Next Step**: Once you have confirmed your selections, click the ‘Next’ button to proceed. The installer will then confirm the components you have chosen, and you will be taken to the next step of the installation process.
5. **Future Component Installation**: Remember, if you need additional components later, you can always use Stack Builder to install them post-setup. This flexibility allows you to tailor your PostgreSQL environment as your needs evolve.
Step 5: Configure PostgreSQL Server
To successfully configure your PostgreSQL server, follow these detailed sub-steps:
1. **Set the Password for the Superuser**: During the installation process, you will be prompted to set a password for the default superuser, which is ‘postgres’. It is crucial to choose a strong password that combines uppercase letters, lowercase letters, numbers, and special characters. This password will be required for accessing the database. Enter your desired password in the provided field and confirm it by entering it again.
2. **Choose the Port**: The default port for PostgreSQL is 5432. Unless you have another application using this port, it is advisable to keep the default setting. If you need to change the port, ensure that the new port number does not conflict with other services on your machine. Enter your chosen port number in the designated field.
3. **Set the Locale**: PostgreSQL allows you to set the locale, which determines how data is sorted and compared. The default locale is usually sufficient for most users, but you can select a different locale if your application requires it. Choose the appropriate locale from the dropdown menu.
4. **Proceed with Installation**: After you have set the password, selected the port, and configured the locale, click ‘Next’ to continue with the installation process. This step finalizes the configuration of your PostgreSQL server with the specified settings.
Remember to keep your password secure, as it is essential for accessing your database.
Step 6: Complete Installation and Verify
1. **Finish the Installation**: After the installation wizard completes all the necessary steps, you will see a final screen prompting you to finish the installation. Click the ‘Finish’ button to complete the installation process. This will close the installer and finalize the setup of PostgreSQL on your Windows machine.
2. **Open pgAdmin**: To begin using