7 min read • 1,533 words
How to Use Windows Terminal for Programming
In today’s fast-paced development environment, knowing how to use Windows Terminal for programming can significantly enhance your productivity and streamline your workflow. Windows Terminal is a powerful tool that supports multiple tabs, allowing you to run different command-line applications simultaneously. This feature is particularly useful for developers who need to switch between various environments, such as PowerShell, Command Prompt, and Windows Subsystem for Linux (WSL), without the hassle of opening multiple windows.
Moreover, Windows Terminal offers extensive customization options, enabling you to personalize the appearance with themes and profiles that suit your preferences. You can also utilize Unicode and UTF-8 characters, which are essential for modern programming languages and frameworks. By creating custom keyboard shortcuts, you can further improve your efficiency, making it easier to execute commands quickly. This article will guide you through the essential features of Windows Terminal, empowering you to leverage its full potential for your programming tasks.
Step-by-Step Tutorial
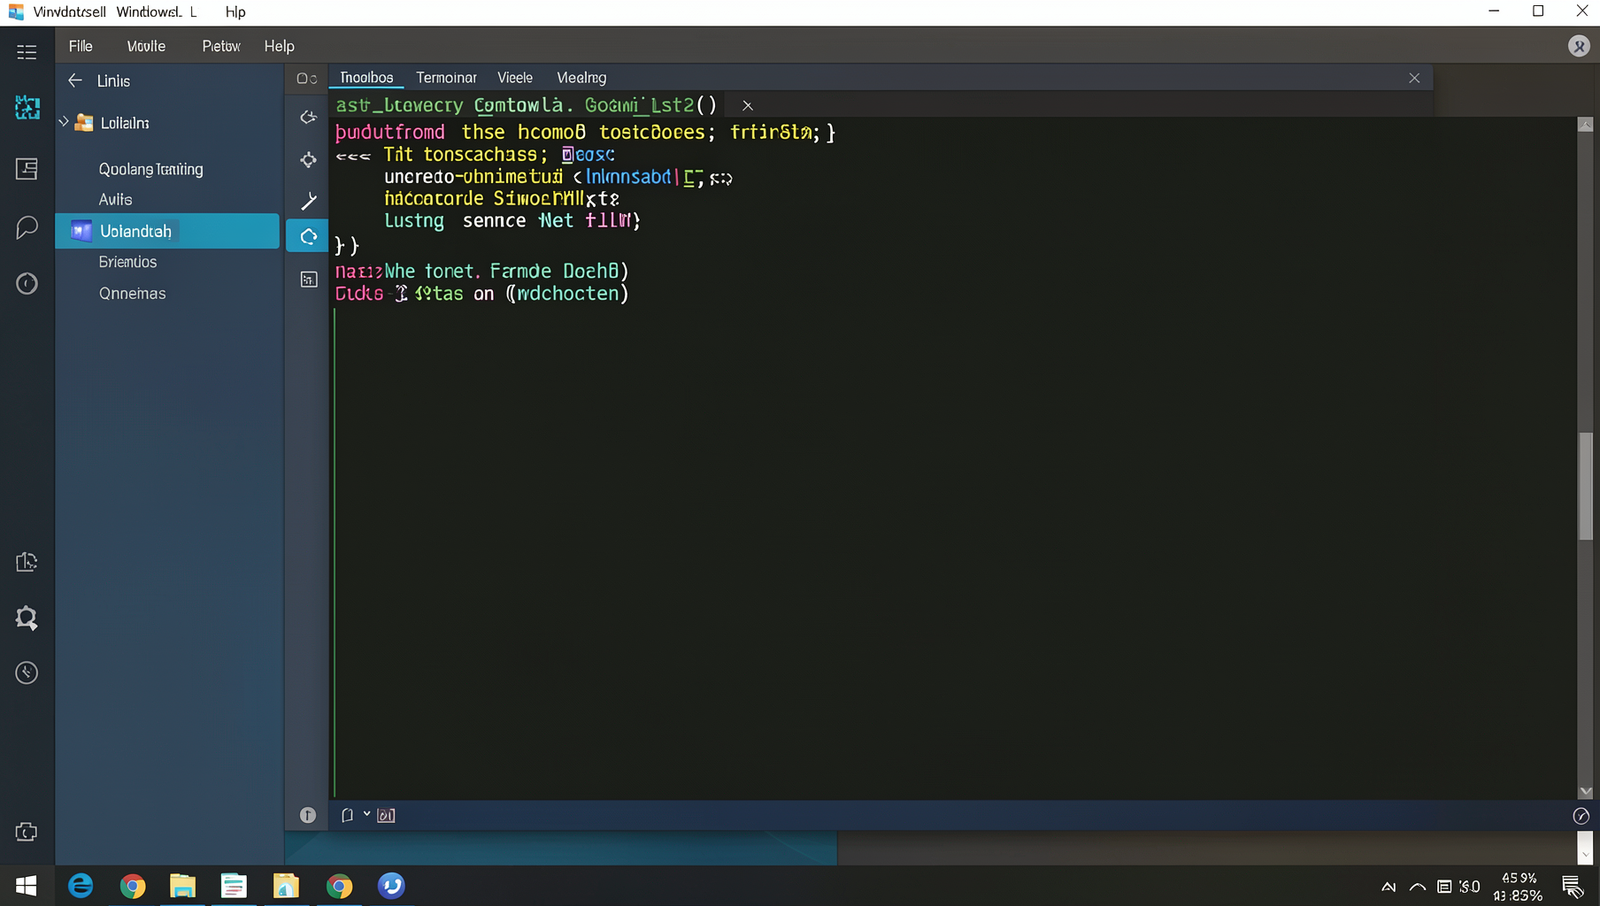
Step 1: Install Windows Terminal
1. **Check Compatibility**: Before you begin the installation, ensure that your Windows version is compatible with the latest release of Windows Terminal. Windows Terminal requires Windows 10 version 1903 (May 2019 Update) or later. You can check your version by pressing Windows + R, typing winver, and hitting Enter.
2. **Download Windows Terminal**: You have two primary options to download Windows Terminal. The easiest method is through the Microsoft Store. Open the Microsoft Store from your Start menu, search for “Windows Terminal,” and click on the “Get” button to download and install it. Alternatively, you can download the latest release from the official GitHub repository. Visit the [Windows Terminal GitHub Releases page](https://github.com/microsoft/terminal/releases), find the latest version, and download the .msixbundle file.
3. **Install the Application**: If you downloaded from the Microsoft Store, the installation will proceed automatically. If you downloaded the .msixbundle file, locate it in your Downloads folder, double-click it, and follow the on-screen instructions to complete the installation.
4. **Access Windows Terminal**: Once installed, you can access Windows Terminal by searching for it in the Start menu. Simply type “Windows Terminal” and click on the application icon to launch it.
5. **Enable Windows Terminal in Windows Features**: For optimal performance, consider enabling Windows Terminal in the Windows Features settings. Go to Control Panel, select “Programs,” and then “Turn Windows features on or off.” Ensure that the necessary features are enabled.
**Tips**: Regularly check for updates in the Microsoft Store or GitHub to access new features and improvements.
**Warnings**: Make sure your Windows version is up to date to avoid any compatibility issues during installation.
Step 2: Open Windows Terminal
1. **Search for Windows Terminal**: Begin by clicking on the Start menu located at the bottom-left corner of your screen. In the search bar, type “Windows Terminal.” As you type, you should see the application appear in the search results. Click on it to launch.
2. **Use Keyboard Shortcut**: Alternatively, you can open Windows Terminal using a keyboard shortcut. Press Win + X simultaneously. This will open a context menu. From this menu, select “Windows Terminal.” This method is often quicker and more efficient for users who prefer keyboard navigation.
3. **Default Profile**: Once Windows Terminal opens, you will see a default profile, which is typically PowerShell or Command Prompt. This interface allows you to execute commands and run scripts, making it a powerful tool for programming.
4. **Pin to Taskbar**: For easier access in the future, consider pinning Windows Terminal to your taskbar. To do this, right-click on the Windows Terminal icon in the taskbar and select “Pin to taskbar.” This will allow you to open it quickly without having to search for it again.
5. **Explore Profiles**: Windows Terminal supports multiple profiles. Click on the dropdown arrow next to the tab bar to see the available profiles, such as Command Prompt, PowerShell, and Azure Cloud Shell. Experiment with these to find which one suits your programming needs best.
**Warning**: If Windows Terminal does not open, ensure that it is installed correctly. You can check this by visiting the Microsoft Store and searching for Windows Terminal. If it is not installed, download and install it from there.
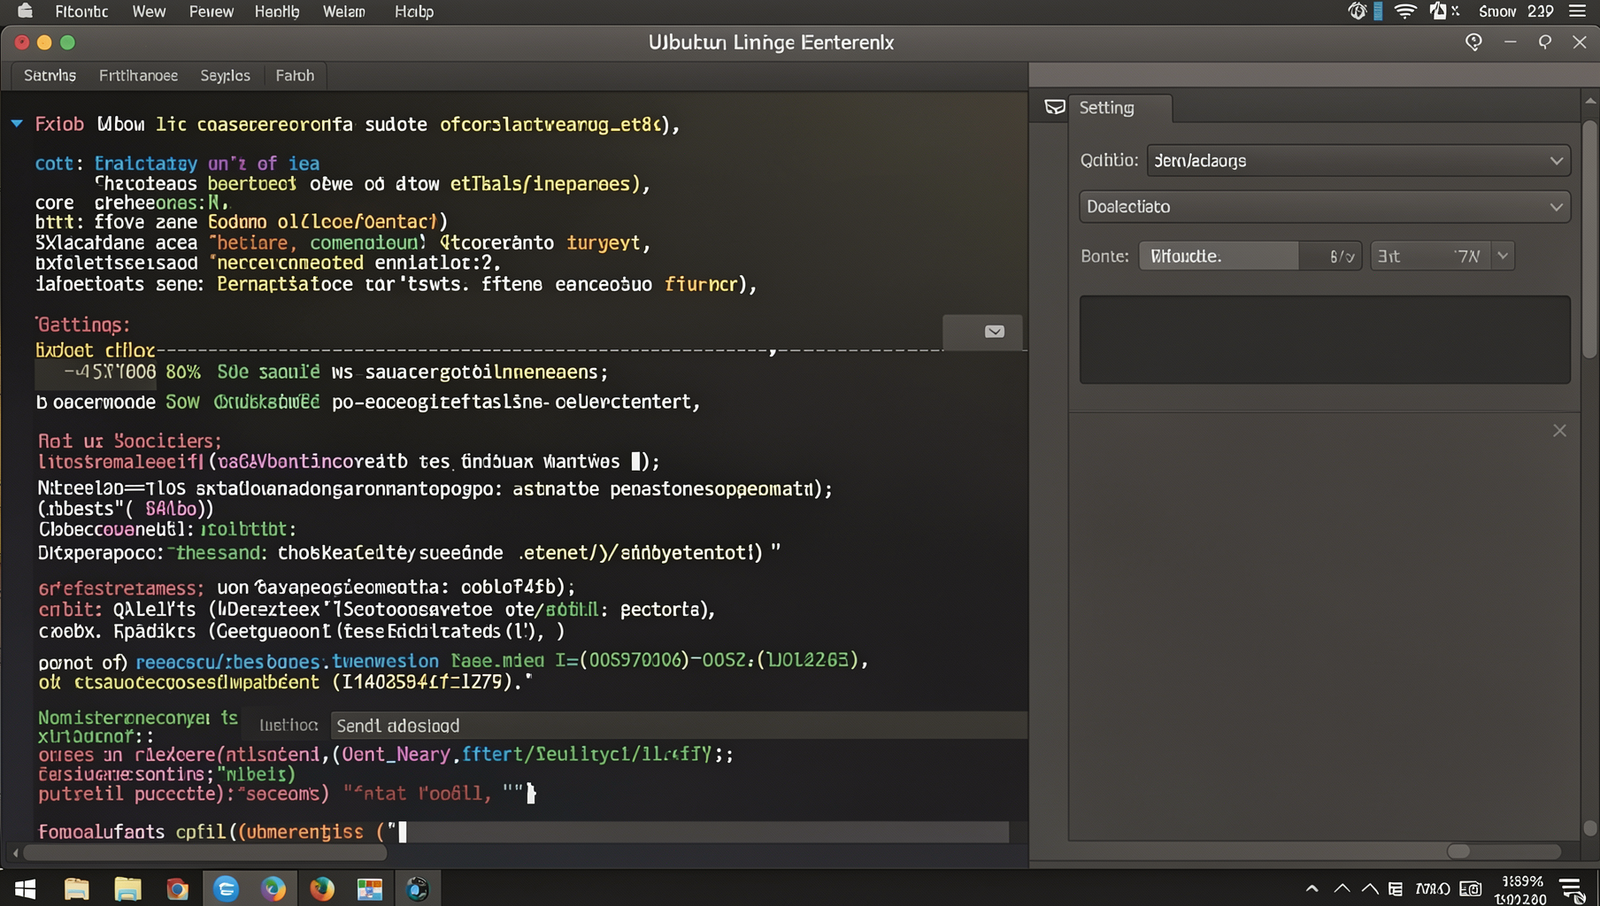
Step 3: Customize Your Profile
1. **Access the Settings**: To begin customizing your Windows Terminal profile, click on the down arrow located next to the tabs at the top of the terminal window. From the dropdown menu, select ‘Settings’. This action will open the settings interface where you can modify various aspects of your terminal.
2. **Edit Your Profile**: In the settings interface, you will see a list of profiles on the left side. Choose the profile you want to customize, such as PowerShell, Command Prompt, or any other installed shell. Click on the profile to access its specific settings.
3. **Change Color Scheme**: Scroll down to find the ‘Appearance’ section. Here, you can select a color scheme from the predefined options. If you want to create a unique look, consider using the JSON file for advanced customization. To do this, click on the ‘Open JSON file’ option, which will allow you to manually edit the color settings.
4. **Modify Font Settings**: Still within the profile settings, locate the ‘Font Face’ and ‘Font Size’ options. You can choose a different font that suits your preferences and adjust the size for better readability.
5. **Save Your Changes**: After making your desired changes, ensure you save the settings. You can do this by clicking on the ‘Save’ button at the bottom of the settings window.
**Tips**: Explore community themes for inspiration and consider keeping a backup of the default settings.
**Warnings**: Be cautious when editing the JSON file, as incorrect settings may lead to an unreadable terminal.
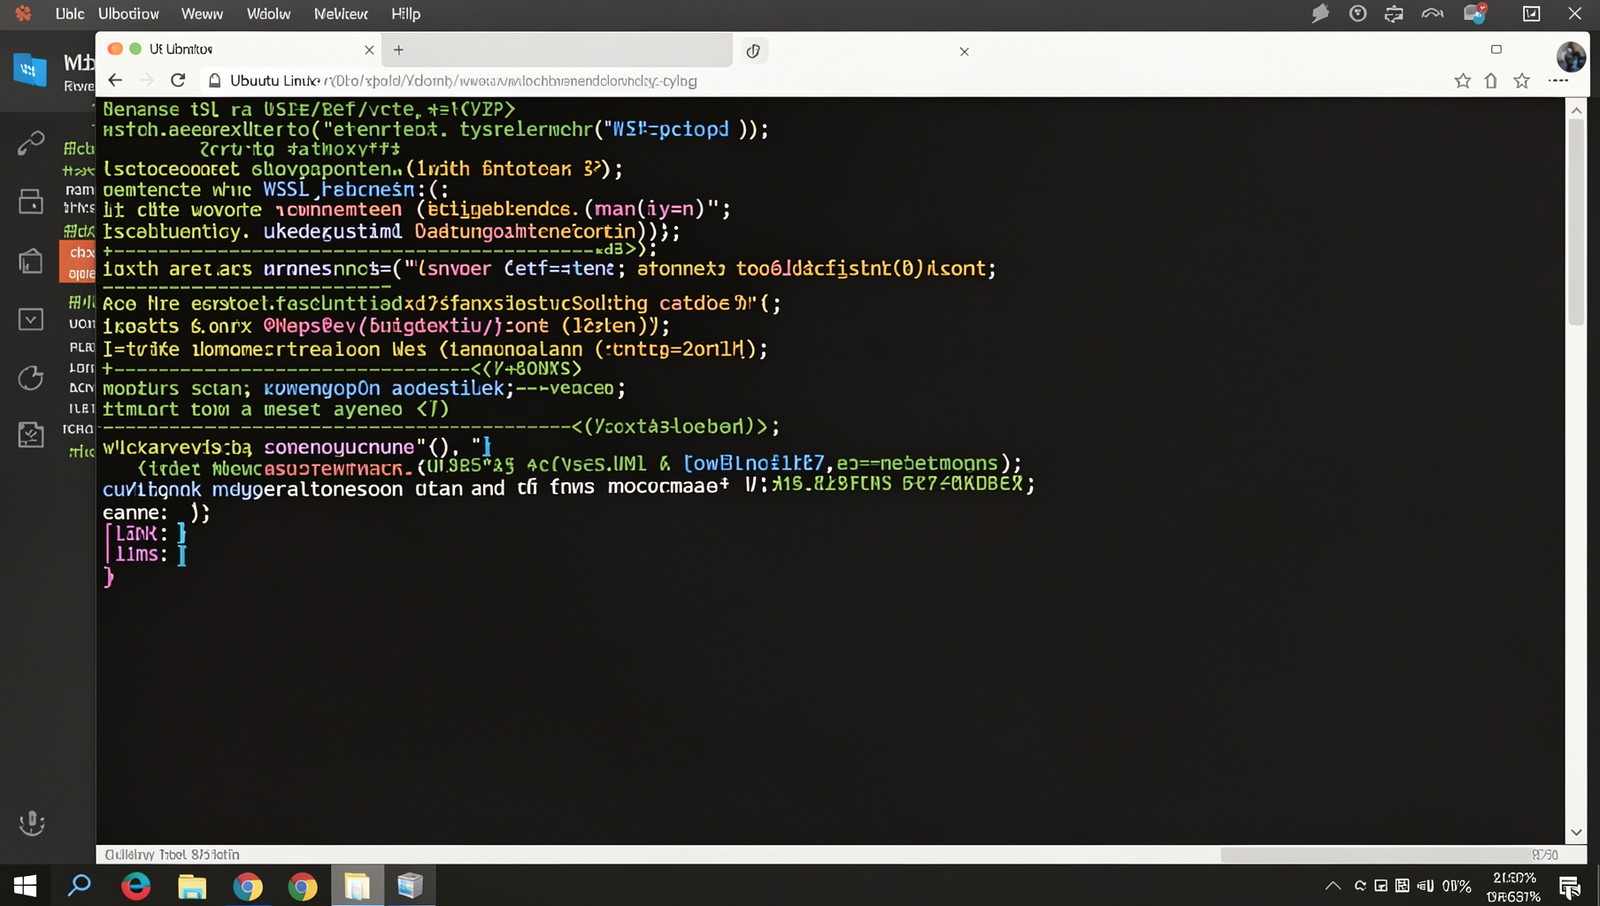
Step 4: Install and Use WSL (Windows Subsystem for Linux)
To enhance your programming experience on Windows, installing the Windows Subsystem for Linux (WSL) is a crucial step. Follow these detailed instructions to get started:
1. **Open Windows Terminal**: Begin by launching the Windows Terminal application. You can find it by searching in the Start menu.
2. **Enable WSL**: In the terminal, type the following command and press Enter:
wsl --installThis command will initiate the installation process for WSL. Follow the prompts that appear on your screen. The installation may take a few minutes as it downloads the necessary components.
3. **Choose a Linux Distribution**: During the installation process, you will be prompted to select a Linux distribution. It is advisable to choose a lightweight distribution, such as Ubuntu or Debian, for better performance. Once selected, the installation will proceed.
4. **Set Up Your Linux Environment**: After the installation is complete, you may need to create a user account and password for your new Linux environment. Follow the on-screen instructions to finalize the setup.
5. **Accessing WSL**: To access your Linux shell, simply type the following command in Windows Terminal:
wslThis command will switch you into the Linux environment.
6. **List Installed Distributions**: To see all installed distributions, use:
wsl -l -vThis will display a list of available distributions along with their version numbers.
**Tips**: Ensure virtualization is enabled in your BIOS settings for WSL to function properly. This is a critical step that can affect the installation process.
Step 5: Run Programming Languages
1. **Install a Package Manager**: Before you can install programming languages, ensure you have a package manager installed. For Windows, you can use Chocolatey. To install Chocolatey, open Windows Terminal as an administrator and run the following command:
@"%SystemRoot%\System32\WindowsPowerShell\v1.0\powershell.exe" -NoProfile -InputFormat None -ExecutionPolicy Bypass -Command "iex ((New-Object System.Net.WebClient).DownloadString('https://chocolatey.org/install.ps1'))" && SET "PATH=%PATH%;%ALLUSERSPROFILE%\chocolatey\bin"2. **Install Python**: Once Chocolatey is set up, you can install Python by running:
choco install pythonThis command will download and install the latest version of Python.
3. **Install Node.js**: Similarly, to install Node.js, execute:
choco install nodejs4. **Install Ruby**: For Ruby, use the following command:
choco install ruby5. **Run Your Scripts**: After installation, you can run your programming scripts directly from the terminal. For example, to run a Python script named `script.py`, use:
python script.pyFor Node.js, the command would be:
node script.js6. **Use Virtual Environments**: For Python projects, it’s advisable to use virtual environments to manage dependencies. Create a virtual environment with:
python -m venv myenvActivate it using:
myenv\Scripts\activate**Tips**: Always refer to the official documentation for installation commands and best practices.
**Warnings**: Ensure you have the correct permissions to install software on your system, as administrative rights may be required for some installations.
Step 6: Utilize Integrated Terminal Features
1. **Open New Tabs**: To enhance your programming experience, you can open new tabs in Windows Terminal. Simply press Ctrl + Shift + T to create a new tab. This allows you to run different sessions simultaneously without cluttering your workspace. You can name each tab according to the project you are working on, making it easier to navigate between them.
2. **Use Split Panes**: Another powerful feature is the ability to split panes within a single tab. You can do this by